Sending Encrypted Email via the Marshall University Email System
To enhance the security of sensitive information being sent to recipients outside the Marshall University email system, Information Technology is providing email encryption capabilities to ensure that only intended recipients can access it. The brief instructions below will detail the steps necessary to send an encrypted email, and the steps that intended recipients will take to access the encrypted content.
Sending Encrypted Email
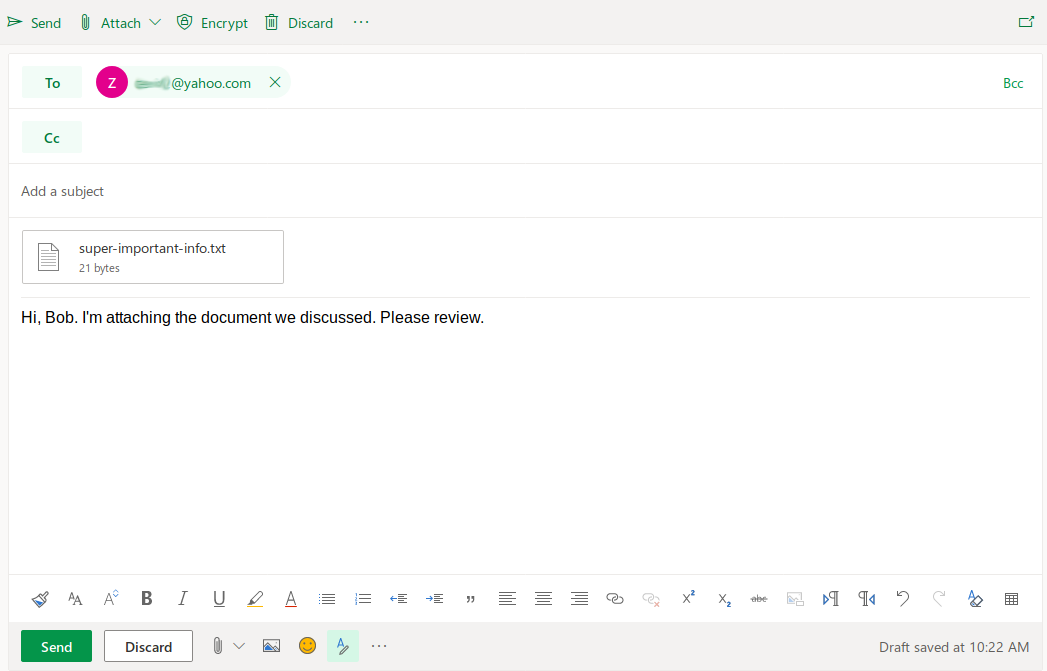
1 ) Open a new email message intended to be encrypted. Enter the external recipient in the To field, as well as the message contents.
2 ) To send this email as an encrypted message, you need to include one of the following in the subject line: [encrypt]
[secure]
Note that the [encrypt] or [secure] can appear anywhere in the subject line in either upper or lower case, but it must not have any other words, characters, or spaces inside the brackets. Examples:

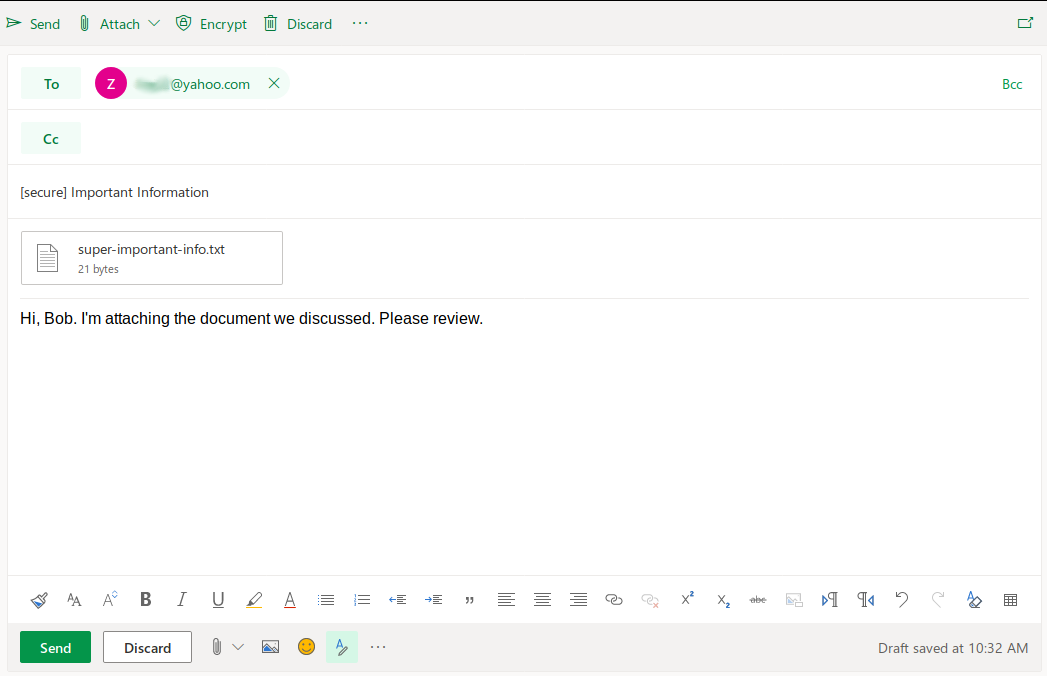
3 ) Once all changes have been made to the message and the appropriate [encrypt] or [secure] tag have been added to the subject line, click Send as usual.
4 ) Once the message has been sent, the recipient will receive an email similar to the example below:
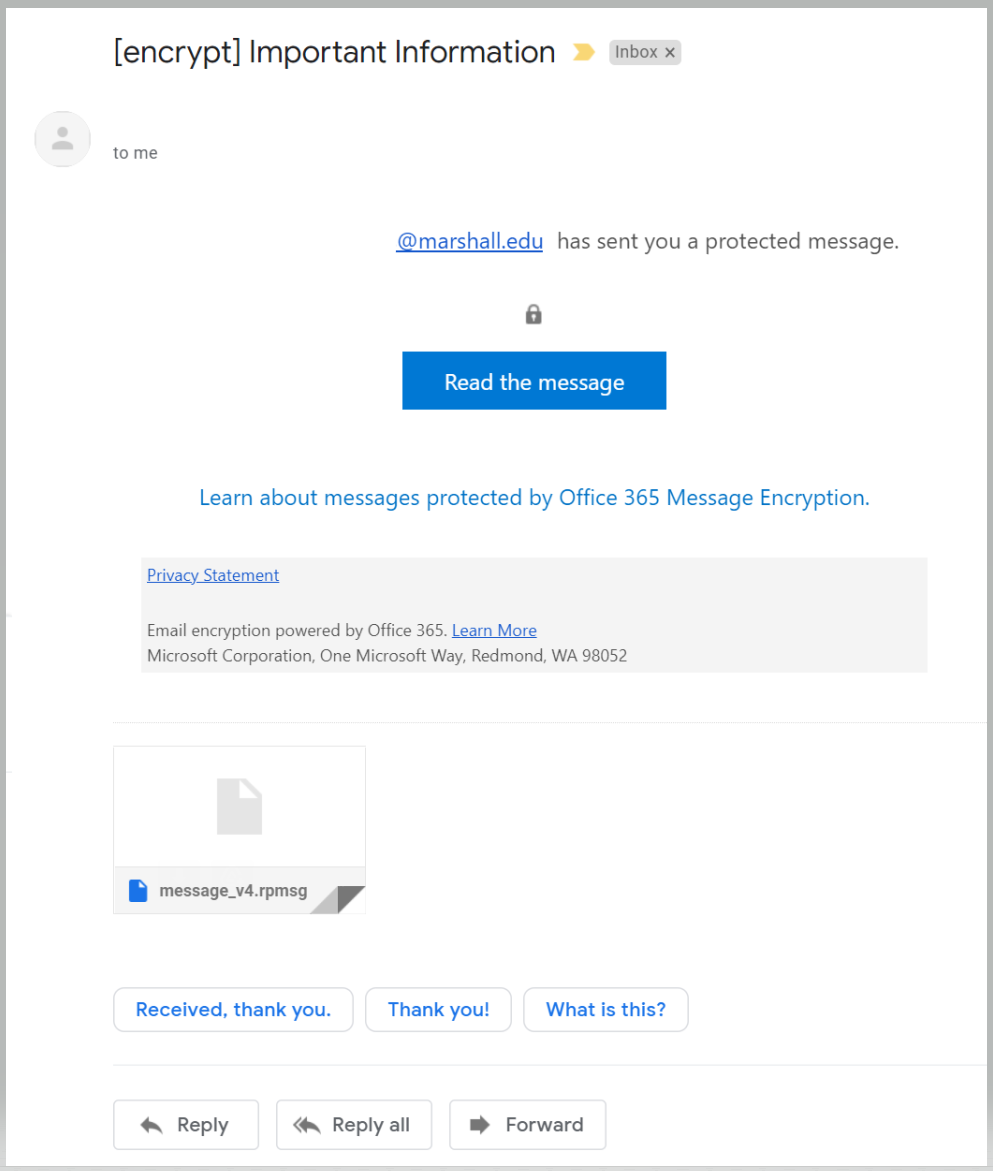
5 ) The recipient will then need to click the “Read the message“ link to be directed to the Microsoft Office 365 Message Encryption service to view the contents of the message.
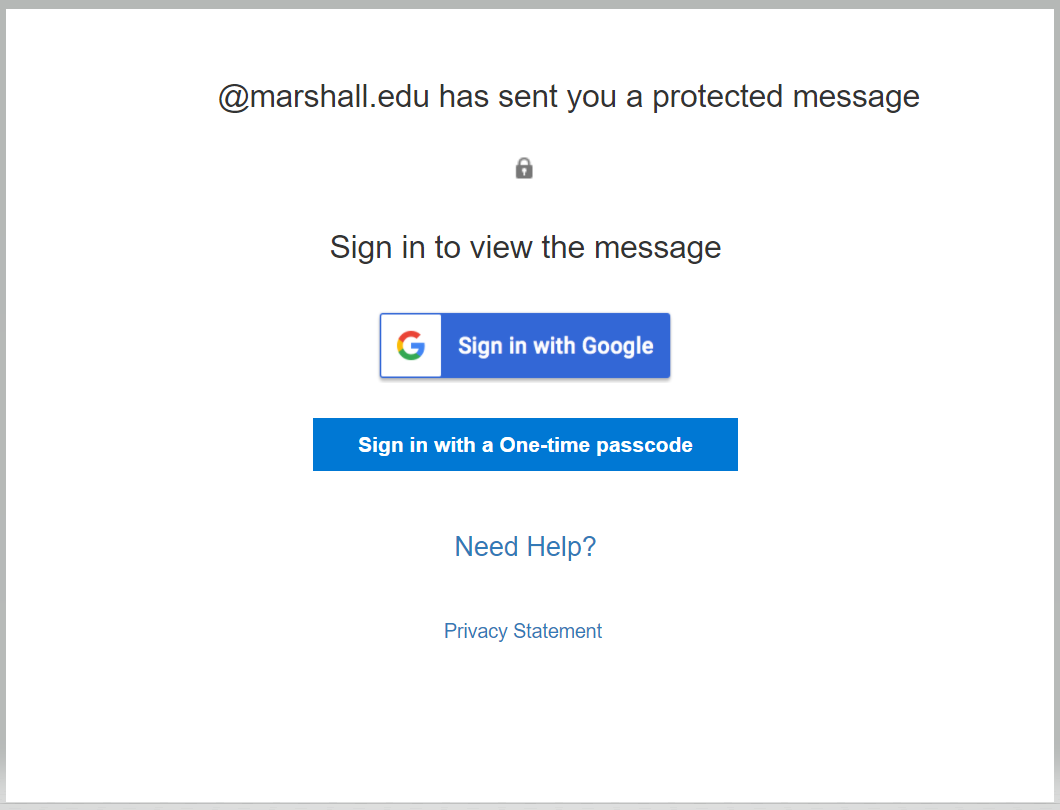
6 ) Clicking the link in the email will bring the recipient to a page with login options. The recipient can either sign in with their mail provider and follow the prompts, or select “Sign in with a One-time passcode” (preferred).
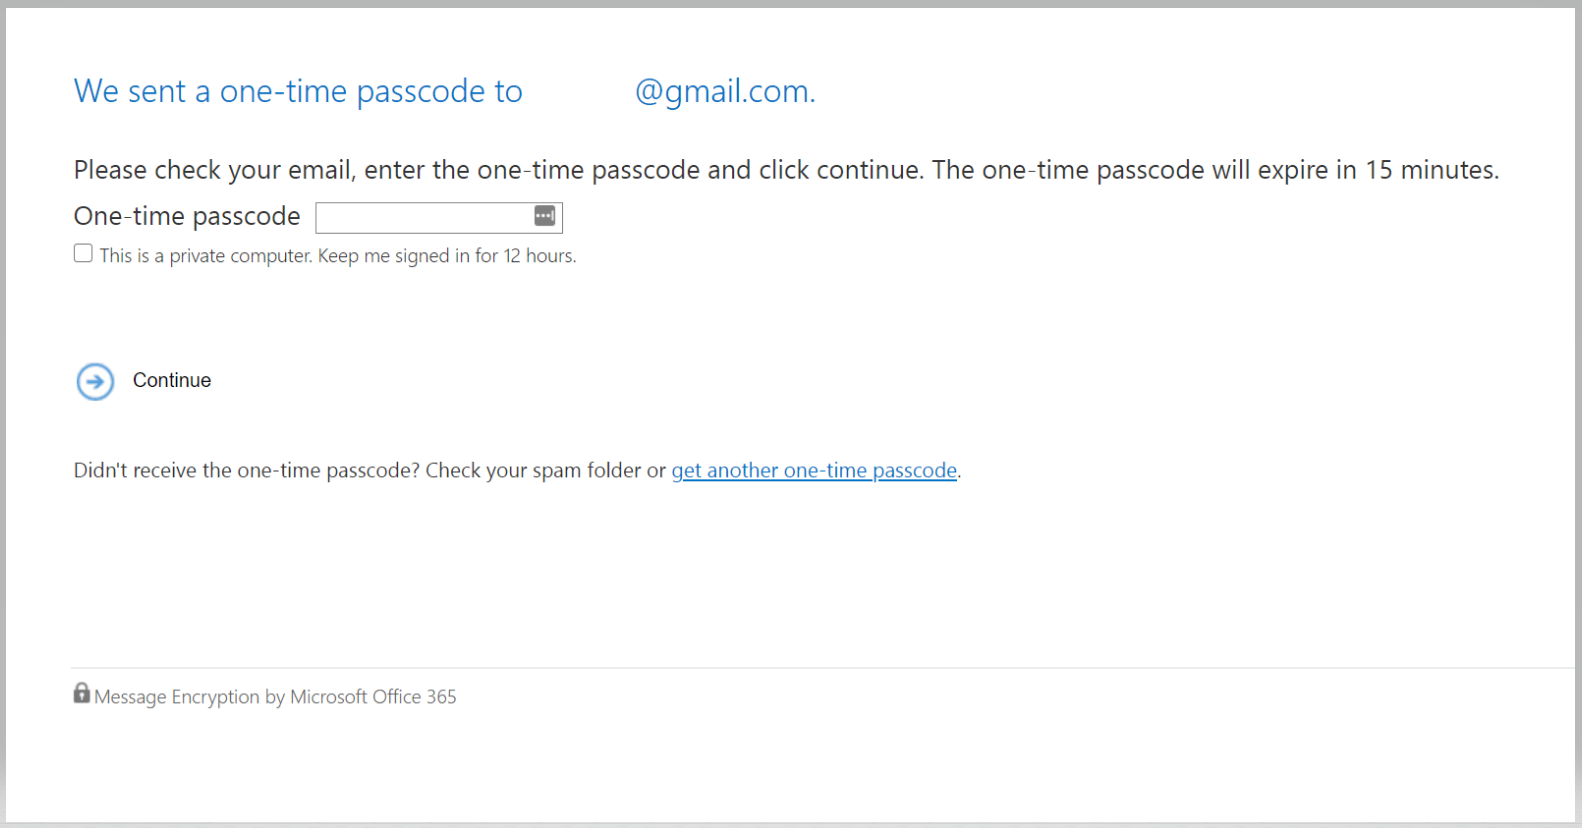
7 ) If the One-time passcode option is selected, the recipient will need to check their email to obtain the code. This message will look similar to the following:

8 ) The recipient will need to enter their temporary passcode in the dialog box provided, then click Continue.
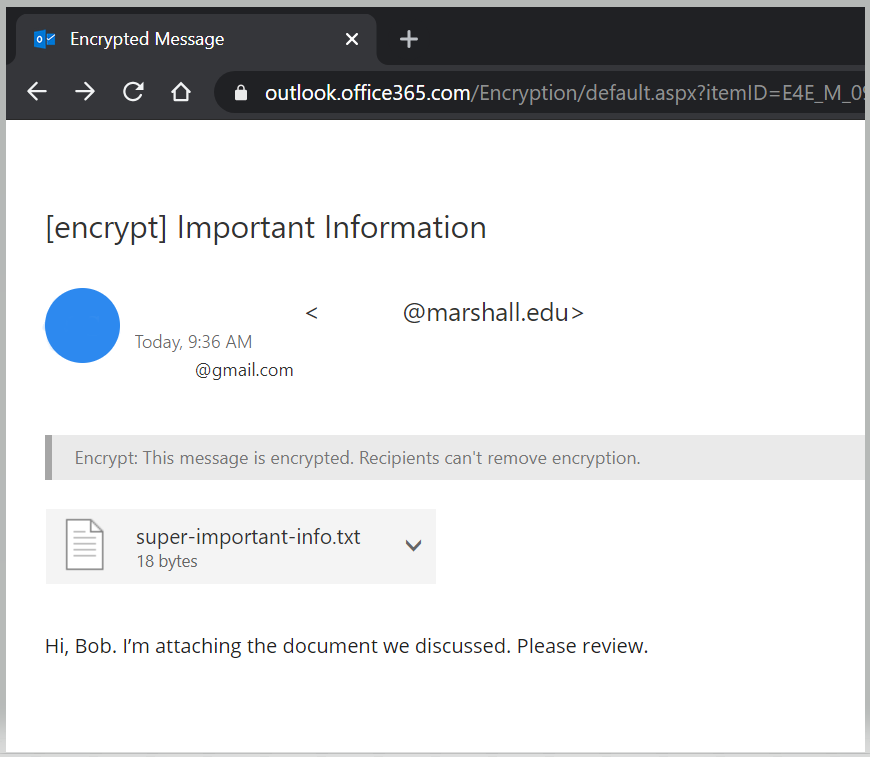
9 ) The encrypted message will then open and the recipient will be able to view the contents and attachments.